Render Controls - Postprocessing
The Postprocessing tab contains controls for postprocessing of the render.
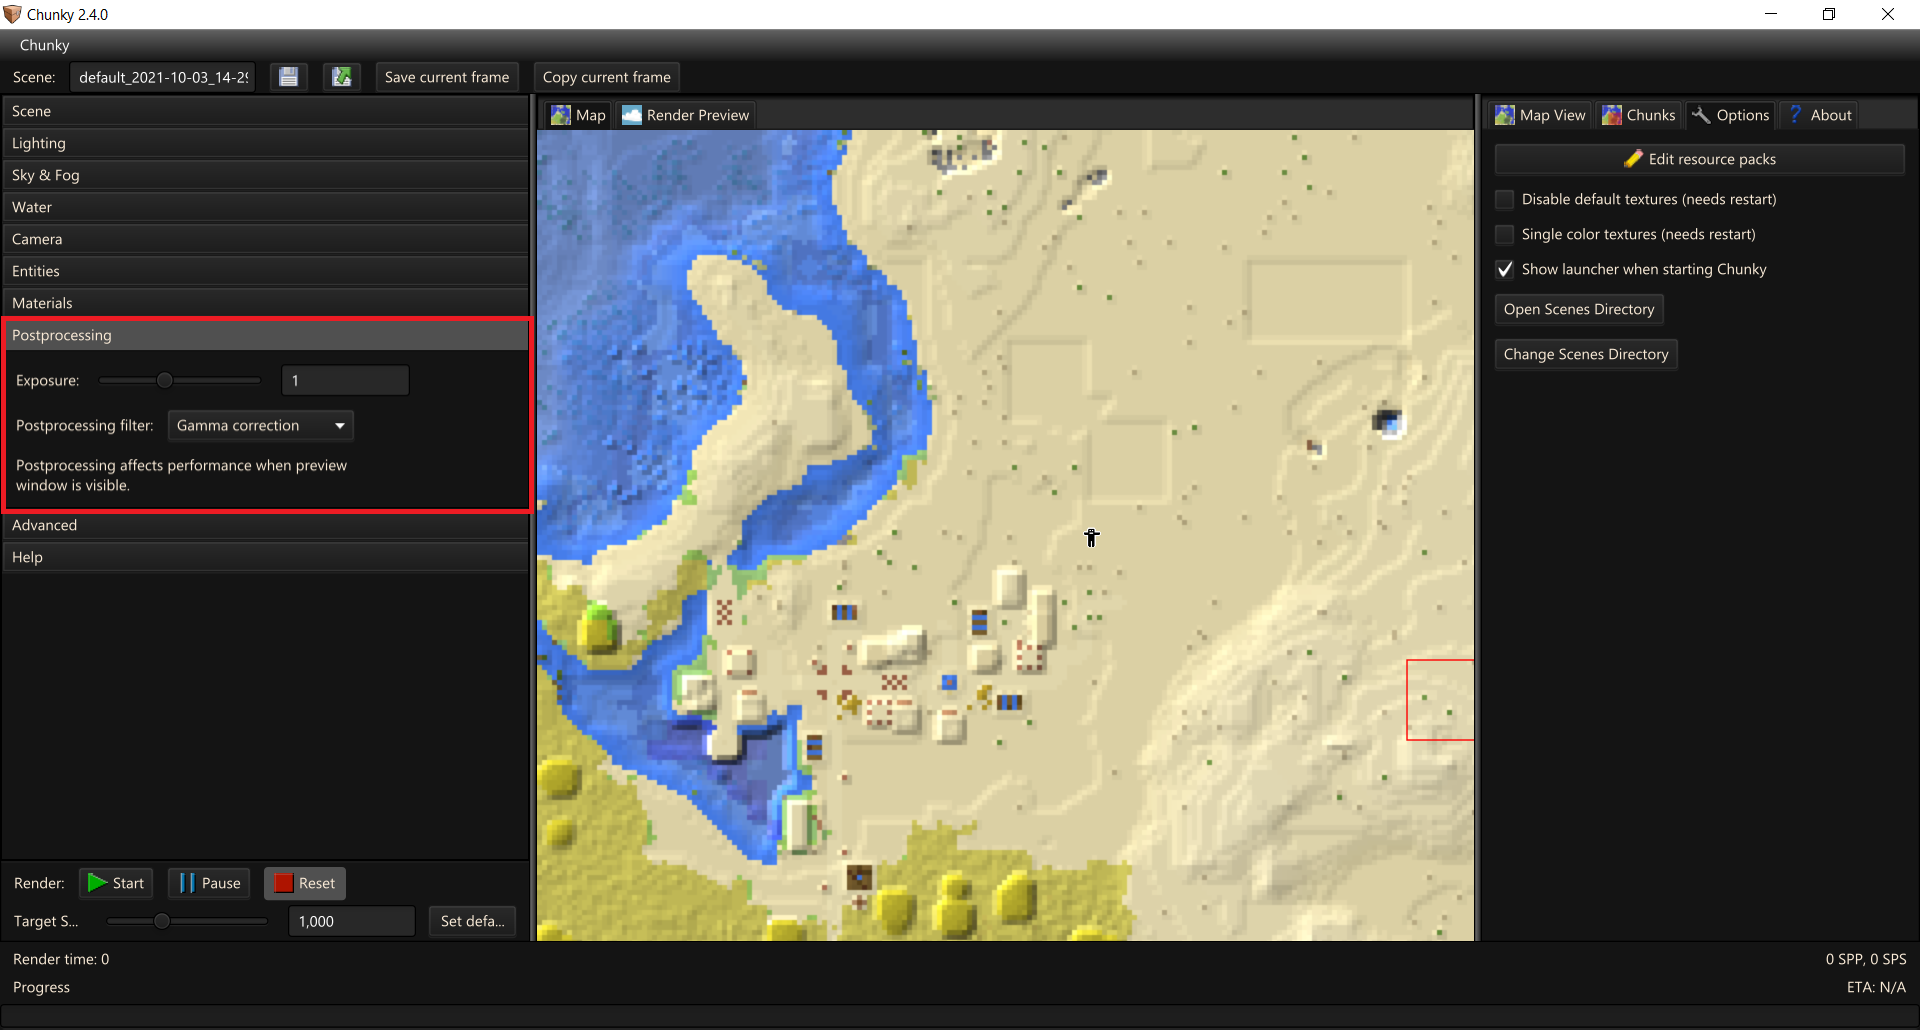
Figure 1: The Postprocessing tab
-
Exposure: Changes the linear exposure of the image.
-
Postprocessing filter: Dropdown menu to select the postprocessing filter (tone mapping) applied to the render. Chunky includes the following postprocessing filters.
-
None: Disables use of any postprocessing filters on the render.
-
ACES filmic tone mapping: Uses the ACES filmic tone mapping curve approximation by Krzysztof Narkowicz.
-
Gamma correction: Perfoms gamma correction only (the most basic tone mapping).
-
Hable tone mapping: Uses John Hable's Uncharted 2 tonemapping function. The look of this filter was changed in Chunky 2.5.0 when missing gamma correction was added. The previous implementation may be restored as a plugin later. The tone mapping curve can be customized and two presets from John Hable's blog and his GDC talk are also available.
-
Tonemap operator 1: Uses the tone mapping formula by Jim Hejl and Richard Burgess-Dawson.
-
Unreal Engine 4 Filmic tone mapping: This is the filmic tone mapper from Unreal Engine 4. By default, it is the same as ACES, but it allows customizing the tone mapping curve. To get an idea for the tone mapping curve, check out this graph. The two available presets represent Unreal Engine's default values (ie. ACES tone mapping) and its legacy tonemapper values.
-
Other postprocessing filters can be added through the use of plugins, such as the Bloom plugin, which adds a postprocessing filter for bloom effects.
The best postprocessing filter to use depends on the scene and the look which you are attempting to achieve.
Figure 2: Comparison of different postprocessing filters (full images)
