Render Controls - Entities
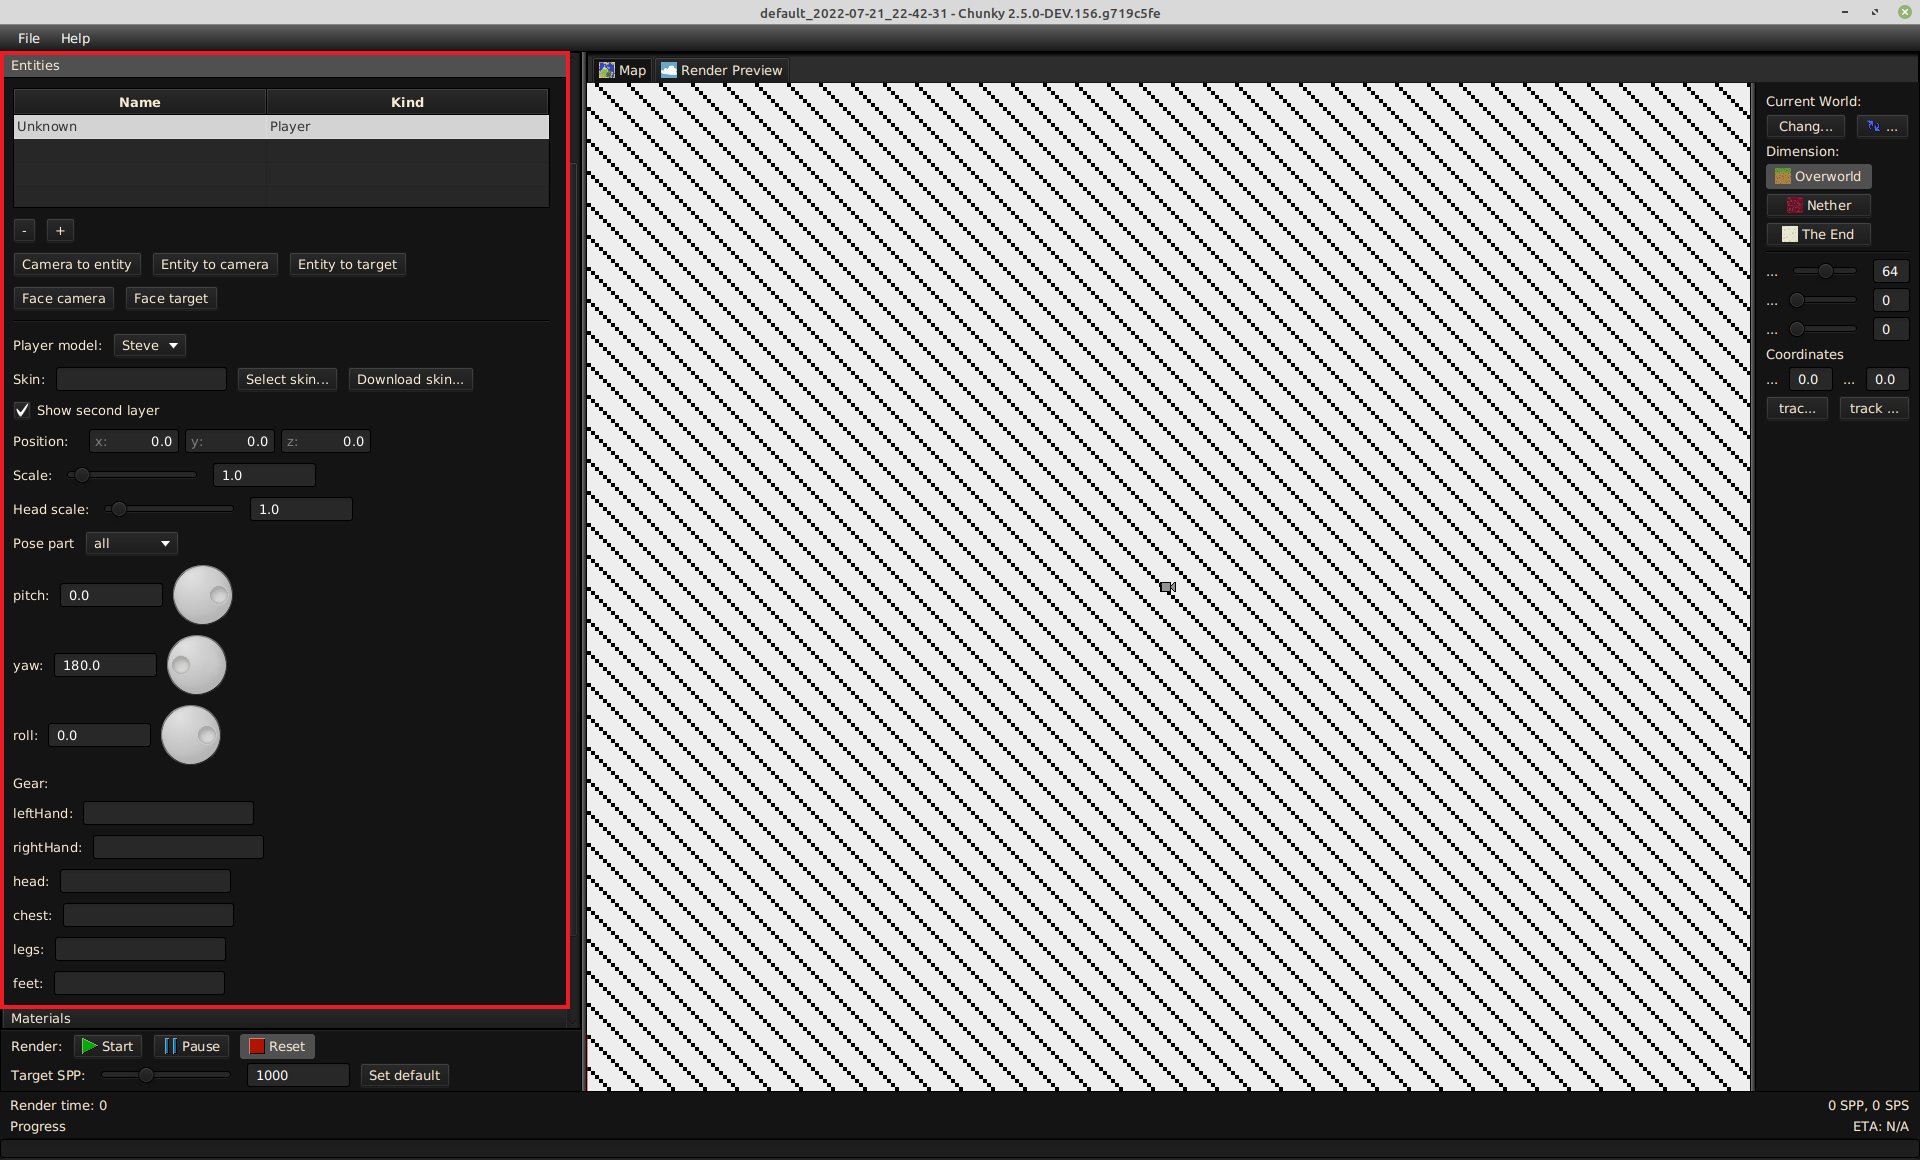
The Entities tab contains controls for any entities in the scene.
Figure 1: The Entities tab
General Controls
A table at the top of the Entities tab displays a list of all loaded entities in the scene. The column headers can be clicked to reorder the entities by Name or Type. An entity in the list can be clicked to select it.
-
-: Removes the selected entity from the scene.
-
+: Adds a new player entity to the scene at the location of the render preview target, if one is set, or the location of the camera, if none is set.
-
Camera to entity: Moves the selected camera to the location of the selected entity, if any.
-
Player to camera: Moves the selected entity to the location of the selected camera.
-
Entity to target: Moves the selected entity to the location of the set target.
-
Face camera: Sets the selected entity to face the selected camera.1
-
Face target: Sets the selected entity to face the set target.1
-
Position: Input fields to change the location of the selected entity.
-
x: Input field to change the X-coordinate of the selected entity.
-
y: Input field to change the Y-coordinate of the selected entity.
-
z: Input field to change the Z-coordinate of the selected entity.
-
Player Controls
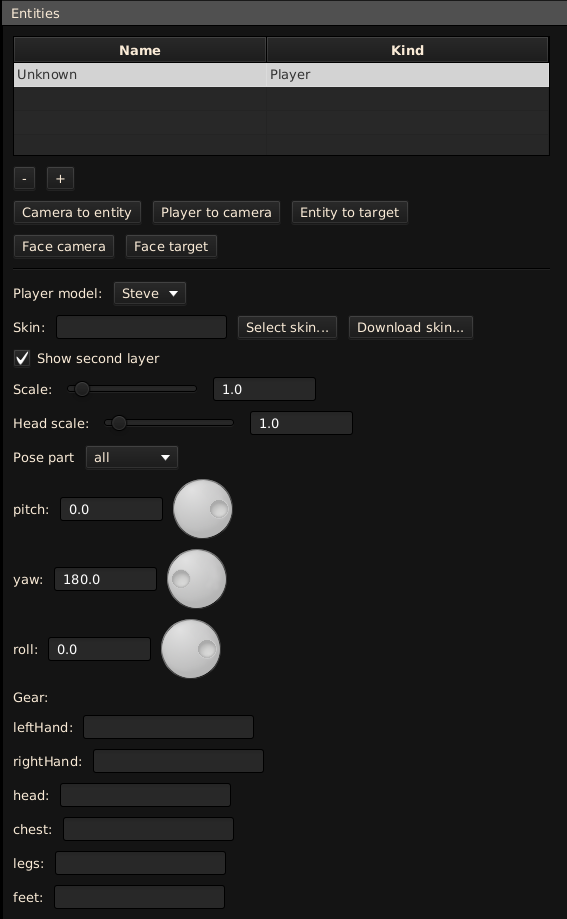
If the selected entity is a player, then controls pertaining to player entities become available.
Figure 2: Player entity controls
-
Player model: Dropdown menu to select the player model of the selected player.
-
Steve: Sets the selected player to use the "Steve" model, the arms of which are 4 pixels wide.
-
Alex: Sets the selected player to use the "Alex" model, the arms of which are 3 pixels wide.
-
-
Skin: Input field to set the path to the PNG file to be used as the skin of the selected player.
-
Select skin...: Opens a file explorer dialog box to browse for a PNG file to be used as the skin of the selected player.
-
Download skin...: Opens the 'Input player identifier' dialog box.
-
Show second layer: Changes whether the second (outer) layer, if any, of the skin of the selected player is visible.
-
Scale: Changes the size of the selected player. Positive values beyond the range of the slider can be entered into the associated input field.
-
Head scale: Changes the size of the head of the selected player. Positive values beyond the range of the slider can be entered into the associated input field.
-
Pose part: Dropdown menu to select the part of the selected player to be manipulatable by the pitch, yaw, and roll controls.
-
pitch: Changes the pitch of the selected body part of the selected player.
-
yaw: Changes the yaw of the selected body part of the selected player.
-
roll: Changes the roll of the selected body part of the selected player.
-
Gear: Input fields to set the Minecraft item to be placed onto the body part of the selected player, the name of which part is the identifier of the input field.
-
leftHand: Input field to set the Minecraft item to be placed into the left hand of the selected player.2
-
rightHand: Input field to set the Minecraft item to be placed into the right hand of the selected player.2
-
head: Input field to set the type of Minecraft helmet to be placed onto the head of the selected player.3
-
chest: Input field to set the type of Minecraft chestplate to be placed onto the chest of the selected player.3
-
legs: Input field to set the type of Minecraft leggings to be placed onto the legs of the selected player.3
-
feet: Input field to set the type of Minecraft boots to be placed onto the feet of the selected player.3
-
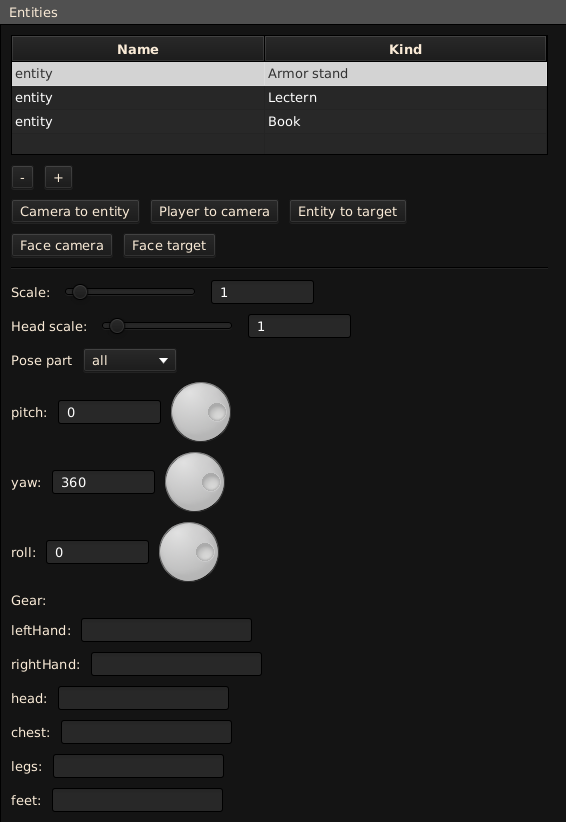
Armor Stand Controls
If the selected entity is an armor stand, then controls pertaining to armor stand entities become available.
Figure 3: Armor stand entity controls
-
Scale: Changes the size of the selected armor stand. Positive values beyond the range of the slider can be entered into the associated input field.
-
Head scale: Changes the size of the head of the selected armor stand. Positive values beyond the range of the slider can be entered into the associated input field.
-
Pose part: Dropdown menu to select the part of the selected armor stand to be manipulatable by the pitch, yaw, and roll controls.
-
pitch: Changes the pitch of the selected body part of the selected armor stand.
-
yaw: Changes the yaw of the selected body part of the selected armor stand. -
roll: Changes the roll of the selected body part of the selected armor stand.
-
Gear: Input fields to set the Minecraft item to be placed onto the body part of the selected armor stand, the name of which part is the identifier of the input field.
-
leftHand: Input field to set the Minecraft item to be placed into the left hand of the selected armor stand.2
-
rightHand: Input field to set the Minecraft item to be placed into the right hand of the selected armor stand.2
-
head: Input field to set the type of Minecraft helmet to be placed onto the head of the selected armor stand.3
-
chest: Input field to set the type of Minecraft chestplate to be placed onto the chest of the selected armor stand.3
-
legs: Input field to set the type of Minecraft leggings to be placed onto the legs of the selected armor stand.3
-
feet: Input field to set the type of Minecraft boots to be placed onto the feet of the selected armor stand.3
-
Book and Lectern Controls
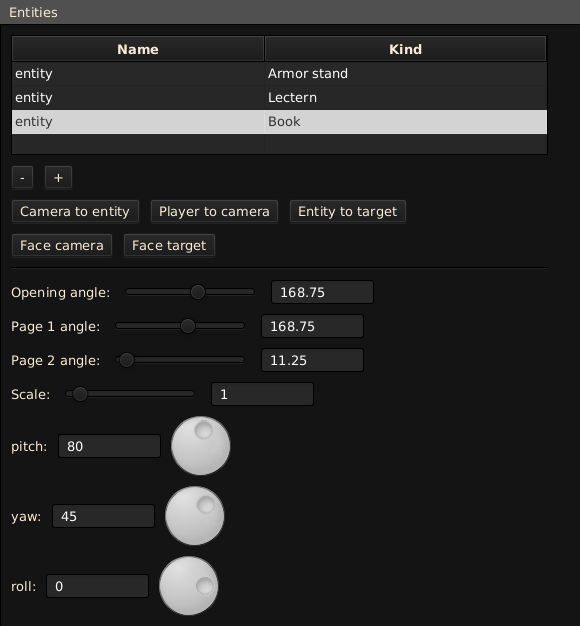
If the selected entity is a book or a book on a lectern, then controls pertaining to book and "lectern" entities become available.
Figure 4: Book entity controls
-
Opening angle: Changes the size of the angle between the two sides of the selected book, which changes how widely the book is opened.
-
Page 1 angle: Changes the angle between the plane of the first page of the selected book and the plane on which that book is "resting".
-
Page 2 angle: Changes the angle between the plane of the second page of the selected book and the plane on which that book is "resting".
-
Scale: Changes the size of the selected book. Positive values beyond the range of the slider can be entered into the associated input field.
-
pitch: Changes the pitch of the selected book.
-
yaw: Changes the yaw of the selected book.
-
roll: Changes the roll of the selected book.
Beacon Beam Controls
If the selected entity is a beacon beam, then controls pertaining to beacon beam entities become available.
Figure 5: Beacon beam entity controls
-
Height: Changes the height of the selected beacon beam.
-
Start height: List of all beacon control points. Each is the Y-coordinate, relative to the bottom of the selected beacon beam, of a one-block segment of that beacon beam, the properties of which and of all beacon beam segments above it and below the next control segment, when its list item is selected, become manipulatable by other controls. An item in the list can be clicked to select it.
-
Delete: Removes the selected control point from the list.
-
 : Input field for a Y-coordinate, relative to the bottom of the selected beacon beam, of a segment of the beacon beam to be used as a control point.
 -
Add: Creates a control point of a segment of the selected beacon beam, the Y-coordinate, relative to the bottom of that beacon beam, of which be specified in the input field immediately to the left, if it does not already exist.
-
Emittance: Changes the intensity of the light emitted from the selected section of the selected beacon beam. This value is multiplied by the value of the Emitter intensity control in the Lighting tab. Positive values beyond the range of the slider can be entered into the associated input field.
-
Specular: Changes the specularity of the selected section of the selected beacon beam.
-
Smoothness: Changes the smoothness of the selected section of the selected beacon beam.
-
IoR: Changes the Index of Refraction of the selected section of the selected beacon beam.
-
Metalness: Changes the metalness of the selected section of the selected beacon beam.
-
Pick color: Opens a color selector dialog box to change the color of the selected section of the selected beacon beam.
-
Scale: Changes the size of the selected beacon beam.
-
pitch: Changes the pitch of the selected beacon beam.
-
yaw: Changes the yaw of the selected beacon beam.
-
roll: Changes the roll of the selected beacon beam.
Input player identifier
The 'Input player identifier' dialog box, shown in Figure 6, allows a Minecraft username or UUID to be entered to download the skin associated with Minecraft user specified by the username or UUID and apply it as the skin of the selected player.
Figure 6: Input player identifier dialog box

-
UUID / player name: Input field for the username or UUID of the Minecraft user, the skin of which should be downloaded and applied to the selected player.
-
OK: Downloads the skin associated with the Minecraft user and applies it as the skin of the selected player if the username or UUID specified were valid.
-
Cancel: Closes the 'Input player identifier' dialog box without applying any changes.